How to Setup an S19j Pro and Install LuxOS Firmware
How to set up an Antminer S19j Pro and install it with LuxOS firmware.
The Antminer S19j Pro — or as many miners like to call it, the j pro — is a powerful and efficient Bitcoin mining rig produced by Bitmain. Given its reliability and efficiency, the S19j Pro has become a favorite of Bitcoin miners, leading it to be one of the hottest-selling bitcoin miners on the market.
Download LuxOS today to unlock the most advanced tooling on the market for your S19j Pro.
Bitcoin miners can improve the S19j Pro’s hashrate and power efficiency even further with custom firmware like LuxOS. In this article, we will walk you through the process of setting up an Antminer S19j Pro with LuxOS, from start to finish, and provide you with some handy tips and reminders.
If you're more of a nauditory learner, you can also consult the YouTube video below for installation instructions.
How to setup the Antminer S19j Pro with LuxOS
Setting up an Antminer S19j Pro can feel daunting at first, but it's actually a relatively simple process. Here's the list of steps we'll cover to help you configure your Bitcoin mining rig:
- Buying all the necessary equipment for your Antminer S19j Pro
- Downloading and installing LuxOS firmware you'll need
- Powering up your Antminer S19j Pro
- Finding your Bitcoin mining rig's IP address
- Configuring your ASIC miner's general settings
- Connecting your miner to the Luxor mining pool
1. What equipment do I need to run an Antminer S19j Pro?
Before you start mining, you'll want to make sure you have all the necessary equipment, this includes:
- The Antminer S19j Pro itself and an S19j Pro-compatible power supply unit
- Two C13-to-C14 power cords and corresponding electrical outlets rated for 240V. (Remember, this is operating continuously, so the power draw of the miner should be less than or equal to 80% of the ratings of all the equipment in the circuit).
- A microSD card (anything 1GB and above works)
- An ethernet cable
- A Mac, Windows, or Linux workstation
- A trusted electrician to ensure your equipment is properly rated
2. Downloading and installing LuxOS
We'll start by downloading LuxOS. Using Luxor’s custom Antminer firmware can help you maximize your Bitcoin mining rig's profitability and efficiency.

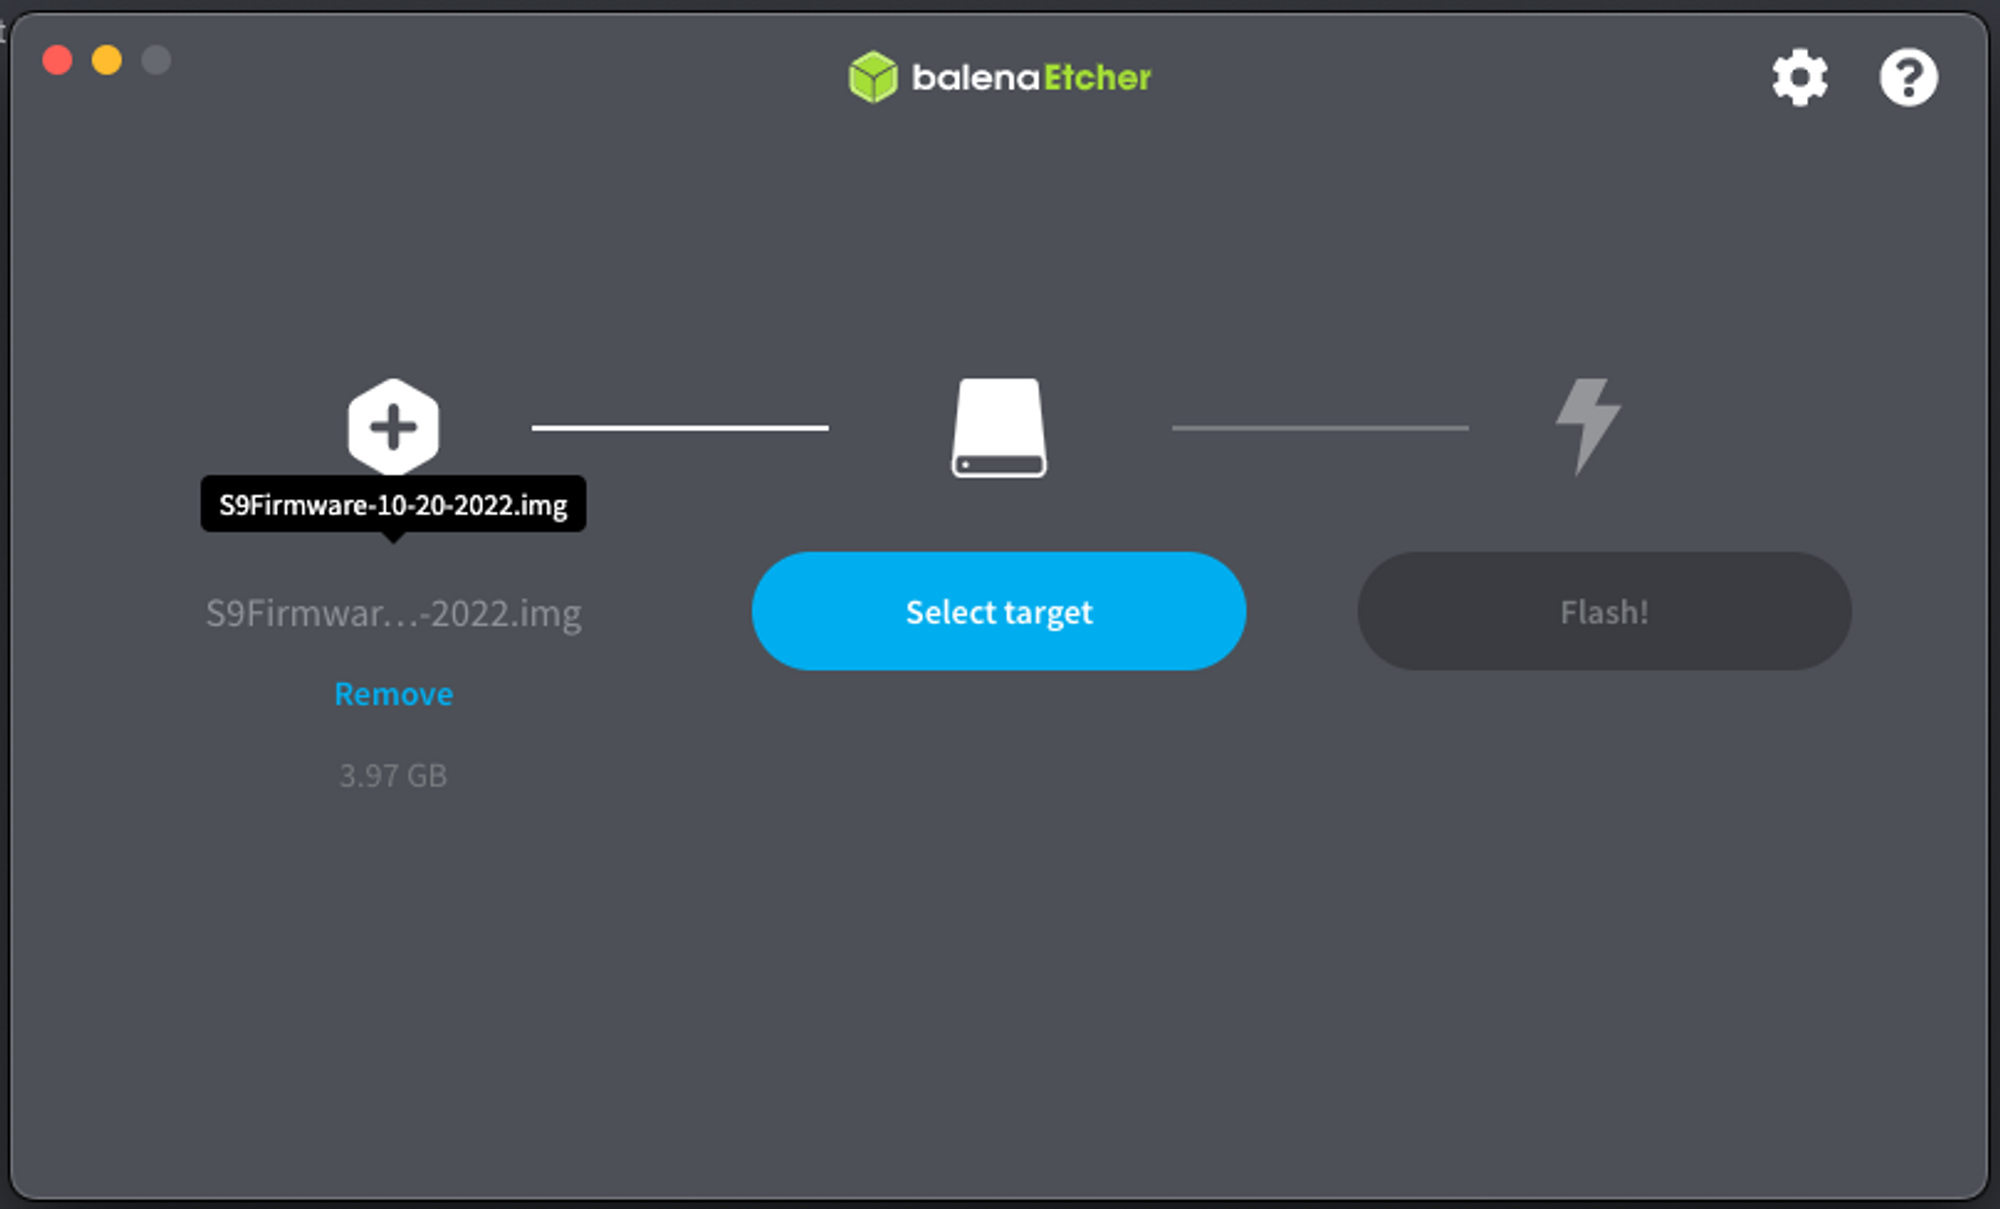
The first thing you’ll want to do it download balenaEtcher to flash LuxOS into your microSD card:

Next, unzip the folder containing the firmware file and select it as balenaEtcher’s target.

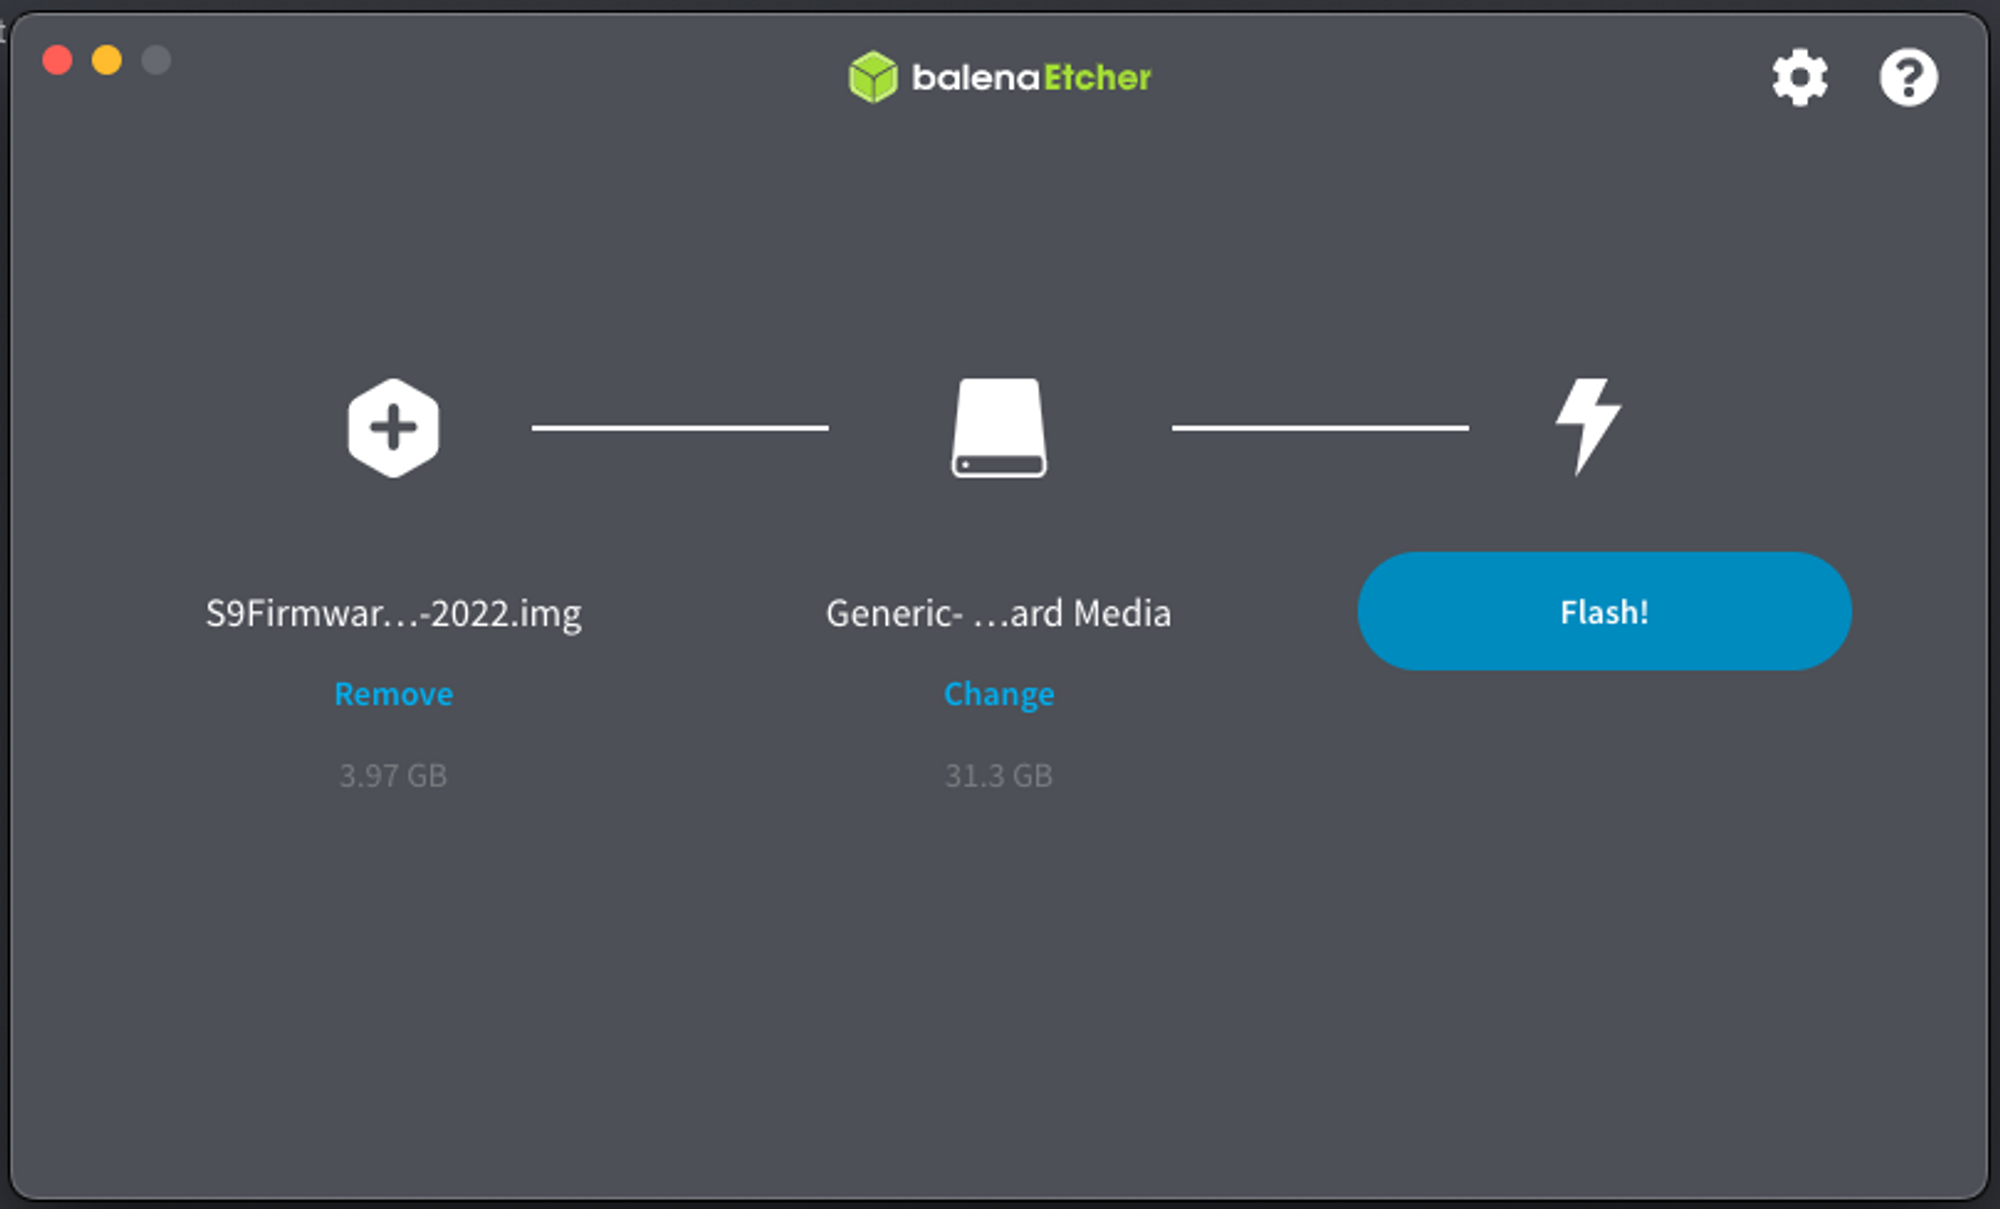
Flash the SD Card using balenaEtcher

And viola! LuxOS is now flashed to your SD card.
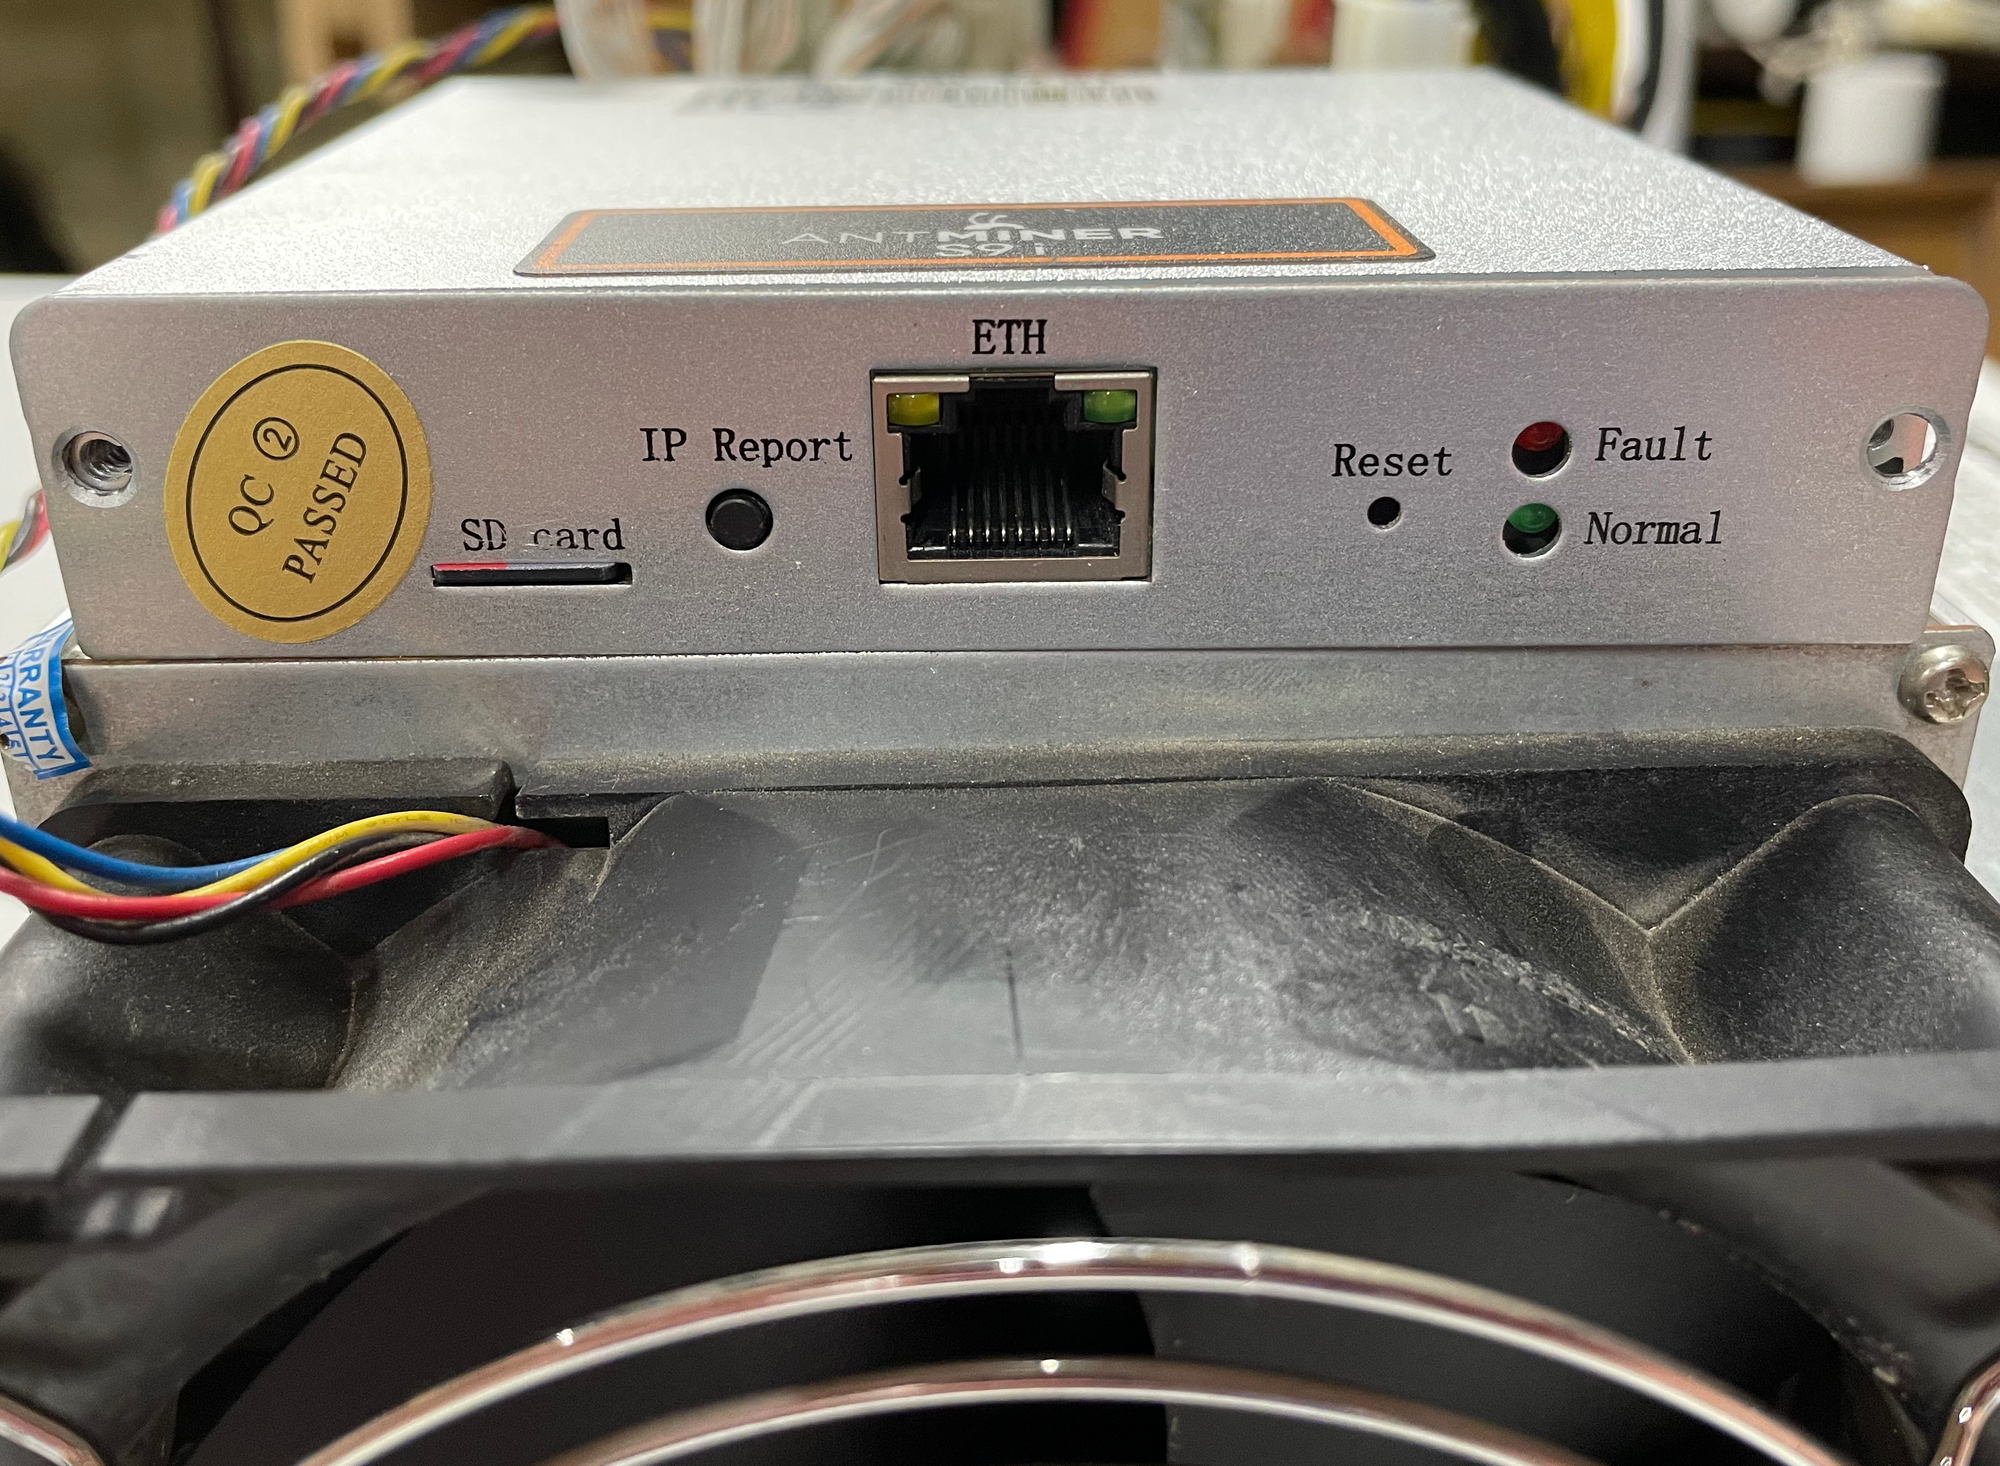
Now is the moment of truth: put your microSD with LuxOS in your rig's SD card slot.

3. Powering up your Antminer S19j Pro
Plug your rig's power cable into the wall and then into the power headers found on the side of the miner (one cable for the controller and the rest for the hash boards).
Next connect an ethernet cable to your miner and the other end to a router or switch device. Then turn on your PSU and the miner will power up.
From there, you can connect and configure the miner's settings, such as the mining pool you wish to connect to or the worker name. Now it's time to find your Antminer's IP address.
4. Finding your Bitcoin mining rig's IP address
To check your miner’s IP address, access a computer or mobile device that is connected to the same network as the miner. Ensure that your miner’s ethernet cable is properly connected to the wifi router.
You can discover your miner's IP either by looking directly at your router (normally there is a UI in http://192.168.0.1 or http://192.168.1.1), or by using the nmap command on your computer’s terminal to scan the available devices on the network. An example of the nmap command👇
nmap -sn 192.168.0.0/24
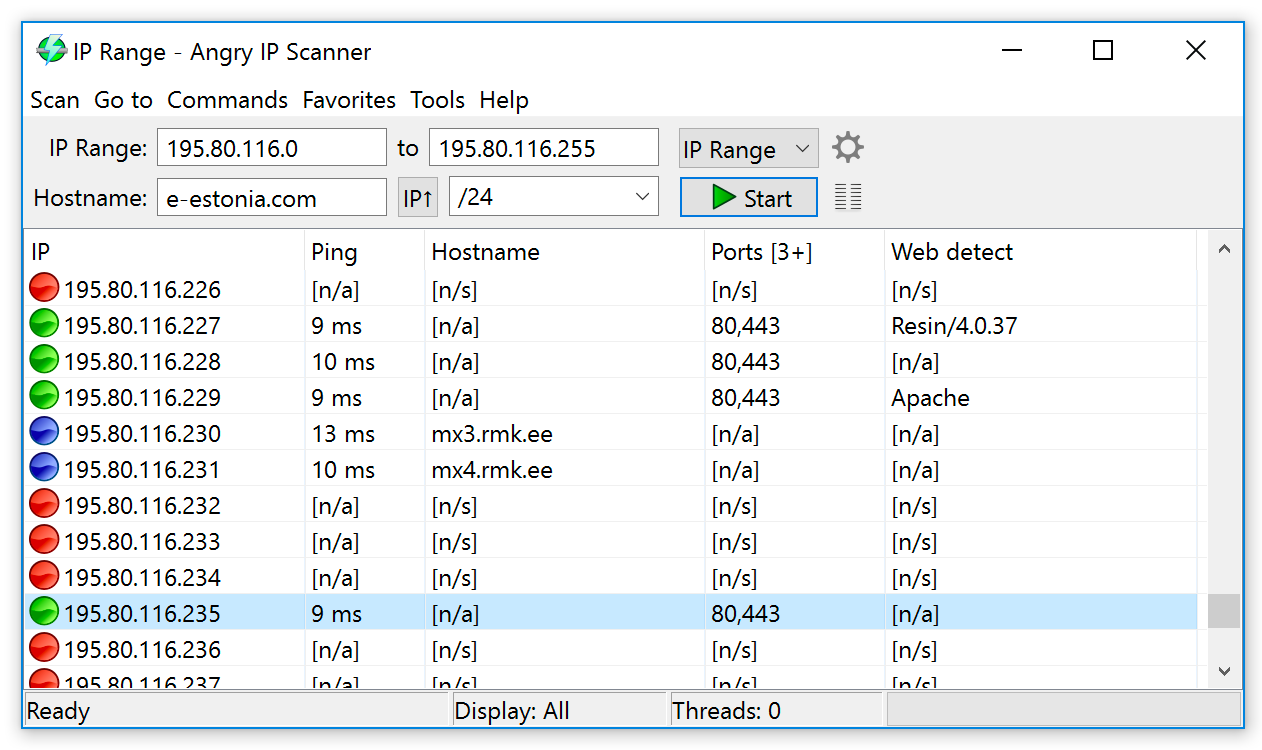
Another easy way to find your IP is by using a tool like AngryIP, which allows you to scan every device on your network to see its IP address.

After you obtain your miner’s IP address, you are ready to configure your Antminer.
LuxOS does not yet support Static IP, so you’ll need DHCP functioning on your network.
5. Configuring your Antminer S19j Pro's general settings
Enter the IP of the machine in your browser and you should see LuxOS’ Dashboard. Make sure that it is an HTTP address (e.g http://192.168.0.1), HTTPS is not supported (e.g: https://192.168.0.1).
A dialog box will pop up which requires you to enter the login credentials; both username and password are “root.” After that, you should see a dashboard that looks like this:

6. Connecting your Antminer S19j Pro with Luxor Mining Pool
To provide you with greater control of your mining operations, create a User Account with Luxor.

To configure your miner with Luxor to start mining, follow these simple steps:
- Click on "Pools"
- Click "Add Pool"
- Enter the Stratum Proxy
- Type in the pool setting as follows:
Pool URL: stratum+tcp://btc.global.luxor.tech:700
Username: [LuxorUsername].workername
The workername can be anything, but avoid using symbols or special characters as it may be invalid. Avoiding duplicate worker names will help get a clear reporting in pool stats.
More info on user accounts can be found here.
Password: 123
After you are ready with the pool settings, press Save. This saves and applies the settings.
Tips and Tricks for the Antminer S19j Pro
Here are a few tips that miners can use to optimize the performance and monitoring of their S19j Pro:
- Miners running LuxOS who hash with Luxor Mining Pool benefit from lower custom pool fees
- Test your miner with only one board, especially when tinkering with clock speeds
- Monitor revenue and miner performance on your Luxor Mining Pool dashboard
It’ll take about 5 minutes for your worker to appear on our stats page. To find your user, simply go to app.luxor.tech and head to the “Workers” tab.
You should see something like this:

Once you’ve started hashing, grab yourself a beer (or a non-alcoholic beverage if that's your jam)! Your S19j Pro is up and mining bitcoin with LuxOS.
Happy Hashing!
Disclaimer
Please read carefully the LuxOS End User License Agreement (”EULA”), which governs your use of LuxOS. As detailed in the EULA, LuxOS is provided “as-is” and your use of LuxOS is at your sole risk. Luxor shall not be held liable for any damage or malfunction to your machines and their components or to any related infrastructure used in conjunction with your machines.
Hashrate Index Newsletter
Join the newsletter to receive the latest updates in your inbox.


